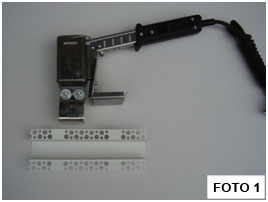
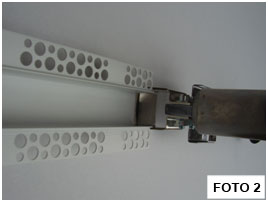
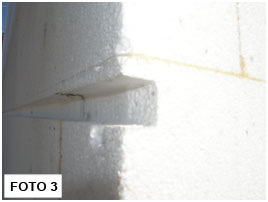
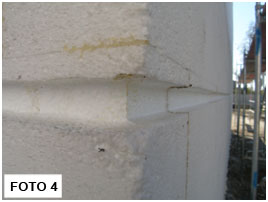
In case of installation in foamed polystyrene, the best method is to burn grooves with the appropriate width. To do this, use the special burner (PHOTO 1, PHOTO 2) available currently from most construction equipment rental companies. The grooves burnt (PHOTO 3, PHOTO 4) should be wider than the profile used for rustication, by approx. 1- 2 mm, and of course levelled. The grooves can also be done without having to burn them. Just use the foamed polystyrene sheets with a thickness of 20 mm and simply glue to the previously placed polystyrene between the glued sheets, leaving spacing (grooves) with sufficient width.
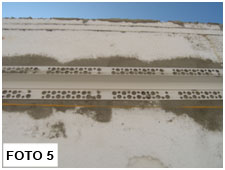
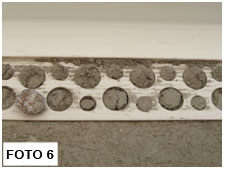
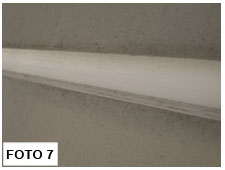
Into a groove prepared this way, insert the adhesive for the installation of polystyrene foam and submerge the groove bead in it (PHOTO 5, PHOTO 6). At the same time (during the same gluing operation), glue the façade’s reinforcing fibreglass mesh, after spreading adhesive on the surface of polystyrene. Reinforcing mesh should cover the perforated wings of the groove bead and be embedded in the adhesive (PHOTO 7). After the adhesive has dried, you can start plastering the façade. Both glue and plaster should „come up” to the groove bead no further than the axial stop on the bead. Before painting the groove it should be dried and degreased (with denatured alcohol or acetone). The best effect is achieved if the color of the bead is consistent with the color of the plaster, then the full use of light and shadow is achieved, obtained by the grooves in the façade.
Installation of groove beads in mineral wool is the same as in case of foamed polystyrene. The difference lies in the implementation of the respective grooves in the wool. It can be done in two ways: by cutting with a sharp knife or using extra 20 mm thick wool, sticking it on to the main wool leaving gaps between the sheets of wool with the width of the groove beads used.
Installation of the groove beads with mesh takes place in the same way as the installation of groove beads without mesh, with the difference that the strips of mesh mounted on the bead should be overlapping with the reinforcing mesh and together embedded in the adhesive in a single gluing operation. PVC groove beads with mesh guarantee even stronger and robust rustication.
Combining beads (in the version with mesh and without mesh) involves the use of longitudinal groove connectors – used to connect a bead to a bead and a bead to a corner bead (inner or outer).
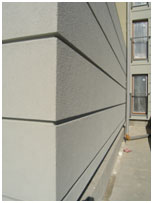
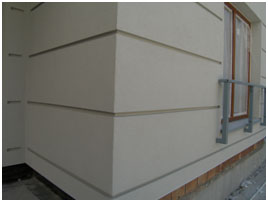
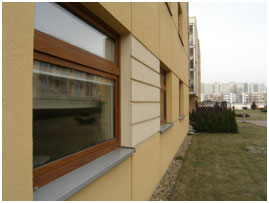
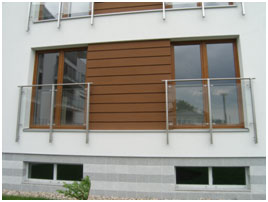
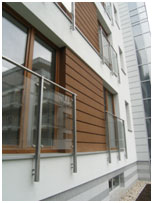
Examples of the use of BP11 groove beads – *.
 |  |  |
 |  |  |
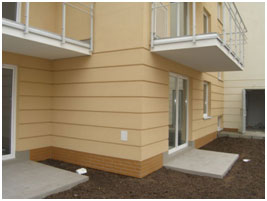 | 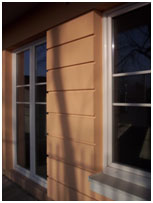 | 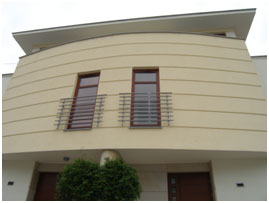 |
* – The photos shown here only illustrate the possibility of using PVC groove beads. Promoting the architecture is not the purpose of the presentation.


